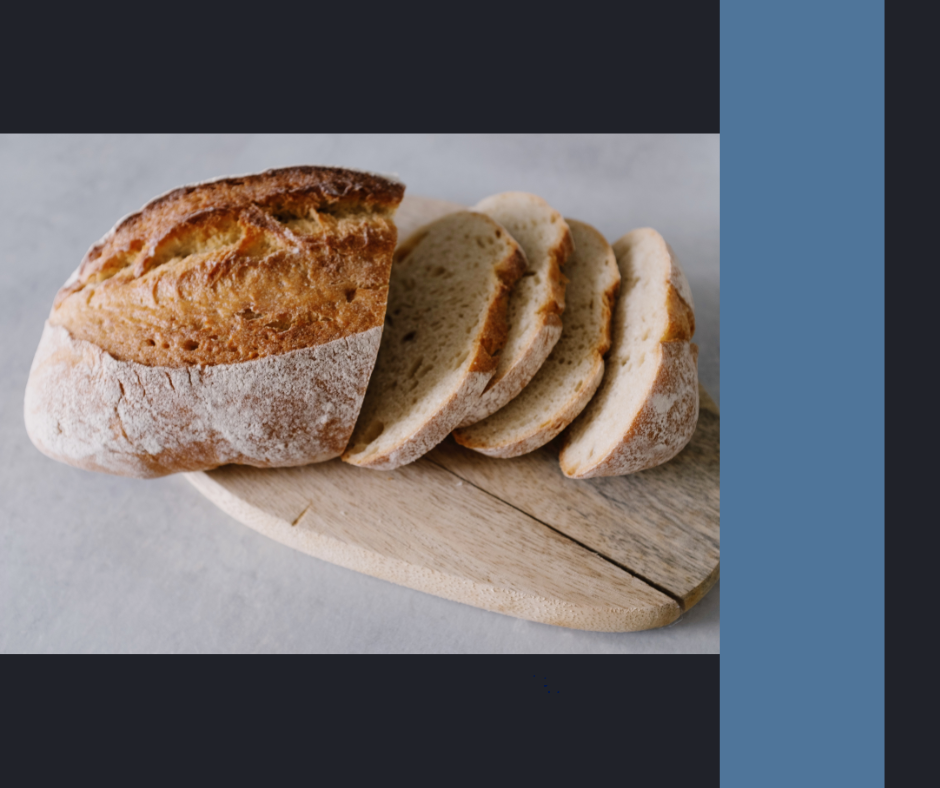
Homemade Sourdough: A Skill That Feeds Your Family for Life
Share
When we talk about preparedness, food storage is often the focus—but knowing how to make food from scratch is just as important. If the grocery store shelves were empty tomorrow, could you still make bread for your family?
That’s where sourdough comes in. It’s one of the oldest forms of bread-making, and it doesn’t rely on store-bought yeast. Once you’ve got a healthy starter going, you can keep making bread for years—no packets, no problem.
Why Make Sourdough Bread?
-
Self-Reliance
- You can make bread with just flour, water, and salt—no yeast packets or fancy ingredients.
- In a long-term emergency, you could trade bread or starter with neighbors.
-
Better Nutrition
- The long fermentation process breaks down gluten and phytic acid, making it easier to digest and more nutrient-rich.
-
Longer Shelf Life
- Sourdough naturally resists mold better than regular bread, thanks to its acidity.
What You Need to Make Sourdough Bread
-
For the Starter:
- Unbleached all-purpose or bread flour (whole wheat works too)
- Water (non-chlorinated if possible)
- A clean jar or container
- A spoon or spatula
-
For the Bread
- Active sourdough starter
- Flour
- Water
- Salt
Step 1: Making the Sourdough Starter
A sourdough starter is simply a mix of flour and water that captures wild yeast and beneficial bacteria from the air and your ingredients. Here’s how to start one:
Day 1
- In a clean jar, mix ½ cup flour with ¼ cup water until it’s like thick pancake batter.
- Loosely cover the jar (cloth or paper towel with a rubber band) so it can breathe but stay protected from dust.
- Leave it at room temperature (around 70–75°F).
Day 2–6
- Each day, discard about half the starter (so it doesn’t grow too much).
- Feed it with another ½ cup flour and ¼ cup water.
- Stir well and cover again.
You should start to see bubbles, smell a tangy aroma, and notice it rising and falling each day. That’s the wild yeast doing its job.
By Day 6 or 7
- If your starter doubles in size within 4–6 hours of feeding, it’s ready to bake with.
- If not, keep feeding daily until it’s reliably bubbly and rising.
Step 2: Making Sourdough Bread
Basic Sourdough Loaf (Beginner-Friendly)
Ingredients:
- 1 cup active starter (fed 4–6 hours before using)
- 1½ cups water
- 4 cups flour (bread or all-purpose)
- 2 tsp salt
Method:
- Mix: In a large bowl, stir together starter, water, and flour until no dry bits remain. Let it rest 30 minutes (this is called autolyse).
- Add Salt: Sprinkle salt over the dough, mix it in with wet hands or a dough scraper.
- Stretch and Fold: Every 30 minutes for the next 2 hours, grab a section of dough, stretch it up, and fold it over. This builds strength without kneading.
- Bulk Fermentation: Cover and let rise until roughly doubled (4–6 hours, depending on room temp).
- Shape: Turn dough onto a lightly floured surface, shape into a round or oval loaf, and place in a floured bowl or proofing basket.
- Final Rise: Let rest 1–2 hours at room temp or cover and refrigerate overnight for better flavor.
- Bake: Preheat oven to 450°F with a Dutch oven inside. Place dough in the hot Dutch oven, cover, and bake 20 minutes. Remove lid and bake another 20–25 minutes until golden brown.
Keeping Your Starter Alive
- Daily Use: Feed it once a day.
- Occasional Use: Store it in the fridge and feed it once a week.
- To Revive: Take it out, let it warm up, and feed it for a day or two until bubbly again.
Pro Tips for Sourdough Success
- Use unbleached flour—bleach can kill wild yeast.
- If your tap water is heavily chlorinated, use filtered or boiled-and-cooled water.
- A warmer kitchen speeds things up; a cooler kitchen slows things down.
Final Thoughts
Sourdough bread is more than food—it’s a skill that ties you to centuries of human history and gives you an edge in self-reliance. Once you’ve mastered it, you can keep your family in fresh, healthy bread with nothing more than flour, water, and salt.
In a world where store shelves can empty overnight, knowing how to make sourdough is one more step toward being Ready & Prepped.
No fuss, no fluff, no fear.
Other articles you may be interested in:
Growing Food Indoors: A guide to Fresh, Homegrown Produce
How to Start a Garden: A Beginner’s Guide to Growing Your Own Food
How to Use Long Term Food Storage (25 recipes included)
How Much Food and Water do You Need for a Year
